How to Make a Multi-Level Plant Stand


Building a plant stand is not only a great way to showcase all of your plants in one place, it also has practical benefits. With a multi-level plant stand, you can have different plants receive more light thanks to a vertical placement. We can also allow water to drip down from the top plants to bottom. While it might look a little daunting, oneHOWTO has the step-by-step guide on how to make a multi-level plant stand at home. We share these DIY plant stand plans with photos so you can use them as reference.
Steps to follow:
This multi-level plant stand is ideal for using leftover wood. This wood can be from old furniture, wood you find by the dumpster or even an old ladder. We're going to use recycled wood in this guide, but if you want to buy new wood you can.

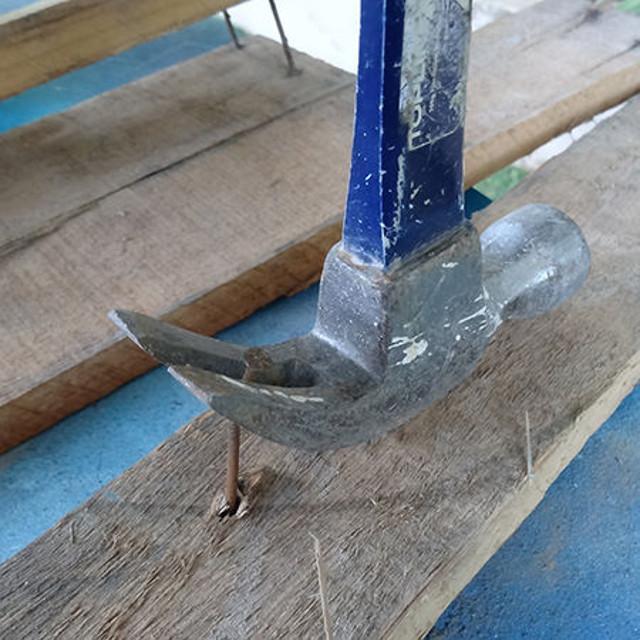
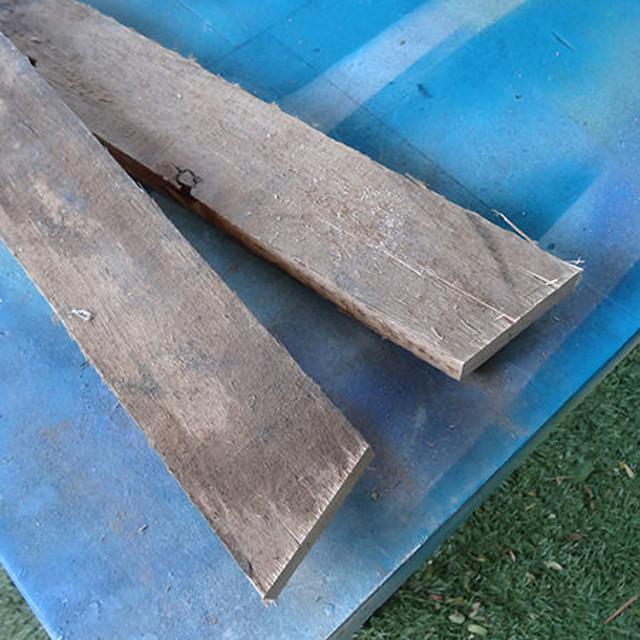
When working with reclaimed wood, you have to remove all the nails and screws before you start. If you cannot remove the nails with the back of the hammer itself, hammer them in flat so they don't catch on anyone. You can clean it if it is dirty with a pressure hose or sand any rough patches.

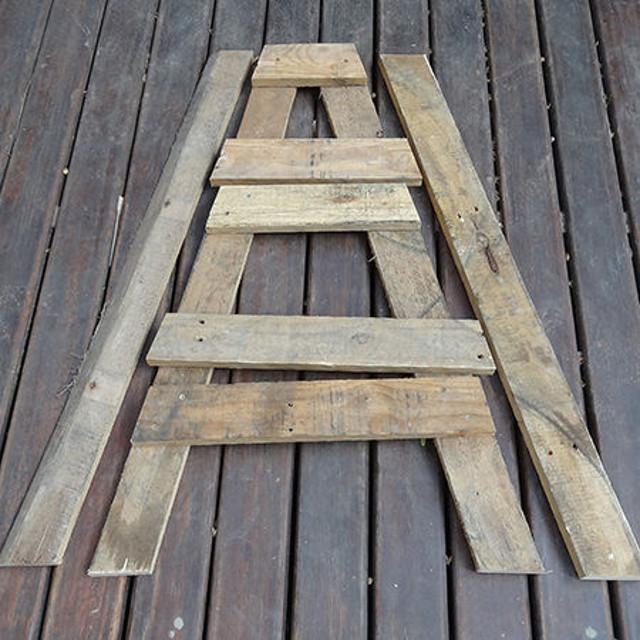
The overall size of the multi-level plant stand in this example is 86 cm high, 55 cm deep, and 50 cm wide. This means that the legs are 86 cm long. You will have to modify the width of the other boards to fit the size of the planks you are using.

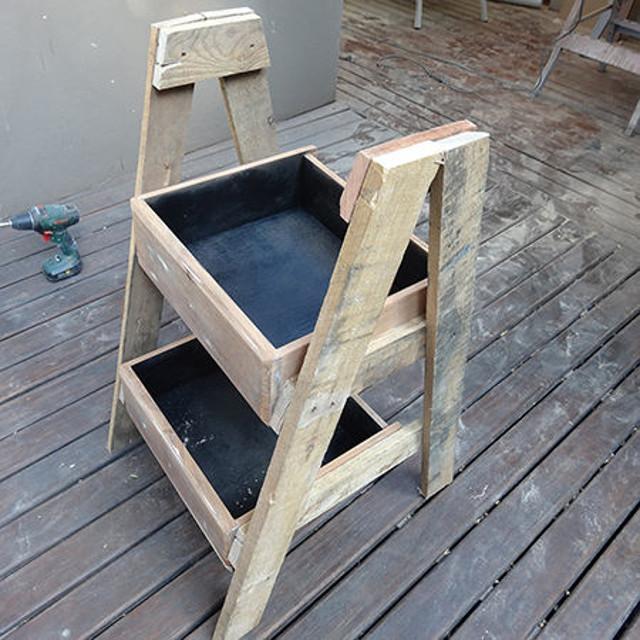
At the top and bottom of each leg you have to cut the wood at a 15º angle. Remember that they are opposing angles (they have opposite slope). When you lay the planks you will see that the 15º gives you a straight edge when the planks are placed at an angle.

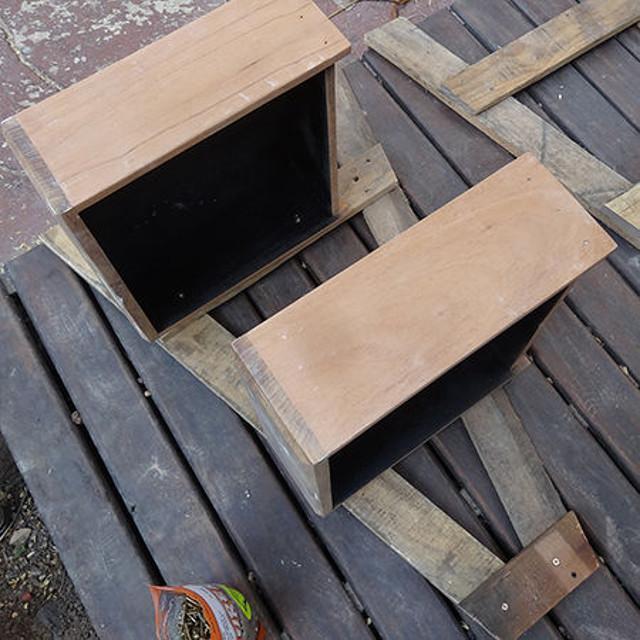
Once the legs are cut, the distance and length of the crossbars can be determined. We are using old reclaimed drawers from a chest of drawers which will act as plant holders. However, you can make cuboid with an open top box of spare wood if you don't have these available. Adjust the length of the 3 crossbars accordingly.

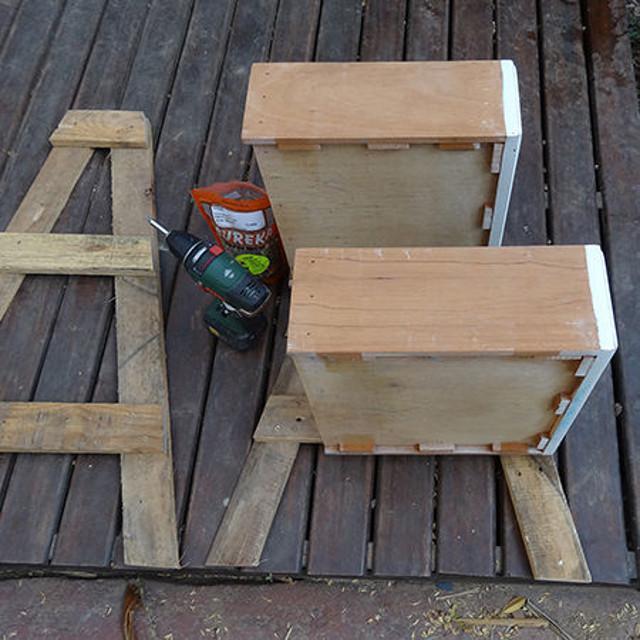
Use nails to fix the crossbars to the stand. With one side finished, you can duplicate it to make the other. The inside of the drawers has to be sprayed with varnish or sealant to create a waterproof seal and protect the drawers from rot.

To mount the drawers, you have to screw them into the lower and middle cross members. Then you will need the help of someone to hold them while you attach the remaining side of the shelf. At the top you can nail a couple of parallel boards, where you can place some plants on top. You can also paint it any color you like if you want to protect the wood or simply to suit your aesthetic.

If you want to read similar articles to How to Make a Multi-Level Plant Stand, we recommend you visit our Hobbies & Science category.


